Selenium is an open source software tools which supporting tests automation. Now days, Software automation tools are becoming popular. Software automation tools are a time efficient. You will find different kinds of software automation tools, such as Load Runner, QTP, MS Test Manager, Jmeter etc. Selenium webdriver is a one of them. It is most popular automation tools.
Today, I am going to discussed about how to run selenium WebDriver with Nunit and Visual Studio (C#)
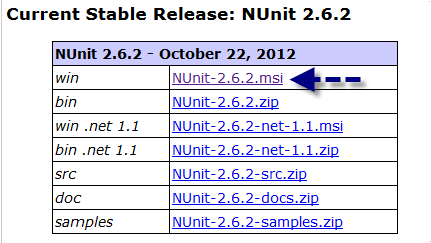
- Download Nunit (http://www.nunit.org) and install in your system
- Download selenium web-driver (http://docs.seleniumhq.org/download)

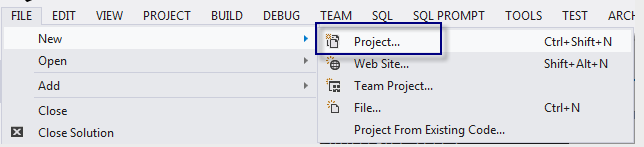
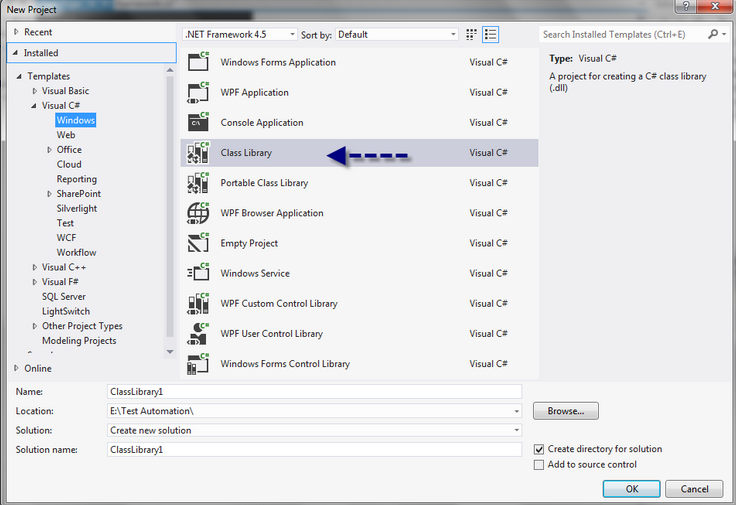
- Open a new project and Create a Class Library
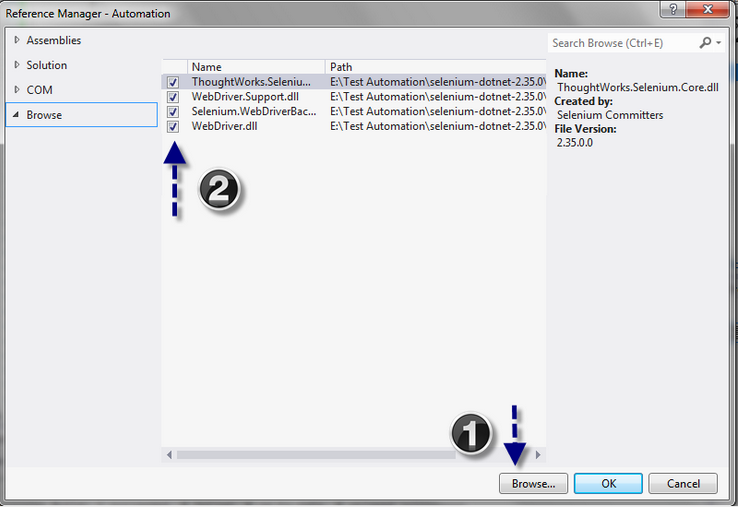
- Add reference webdriver dll (selenium-dotnet-2.35.0 > net40) and nunit dll (Where you installed).
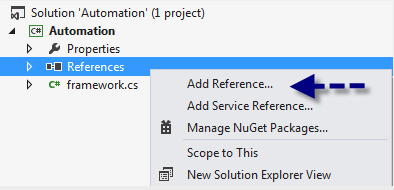
Webdriver dll
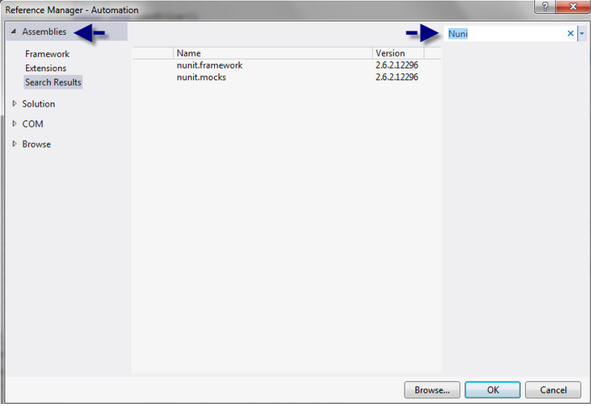
 Nunit Dll
 Or you can add Nunit dll from assemblies > Extension
- When all of this is done and you can start write a code
Point 1:
using System;

using System.Collections.Generic;

using System.Linq;

using System.Text;

using System.Threading.Tasks;

using NUnit.Framework;

using OpenQA.Selenium;

using OpenQA.Selenium.Firefox;

using OpenQA.Selenium.Internal;

using OpenQA.Selenium.Support.UI;
Point 2:
namespace Automation

{
[TestFixture]
public class framework
{
private IWebDriver driver;
[SetUp]

public void LoadDriver()
{
Console.WriteLine("Check SetUp");
driver = new FirefoxDriver();
// To Maximise browser
 driver.Manage().Window.Maximize();
}

[Test]
public void Login()
{
driver.Navigate().GoToUrl("http://localhost/nopcommerce/login");
Console.WriteLine("Check URL");

// Type UserName
driver.FindElement(By.Id("Email")).SendKeys("admin@yourStore.com");

// Type Password
driver.FindElement(By.Id("Password")).SendKeys("admin");

// Clicked on Login Button
driver.FindElement(By.CssSelector("input.button-1.login-button")).Click();
}

[TearDown]
public void UnloadDriver()
{
Console.WriteLine("TearDown");
driver.Quit();
}
}
}
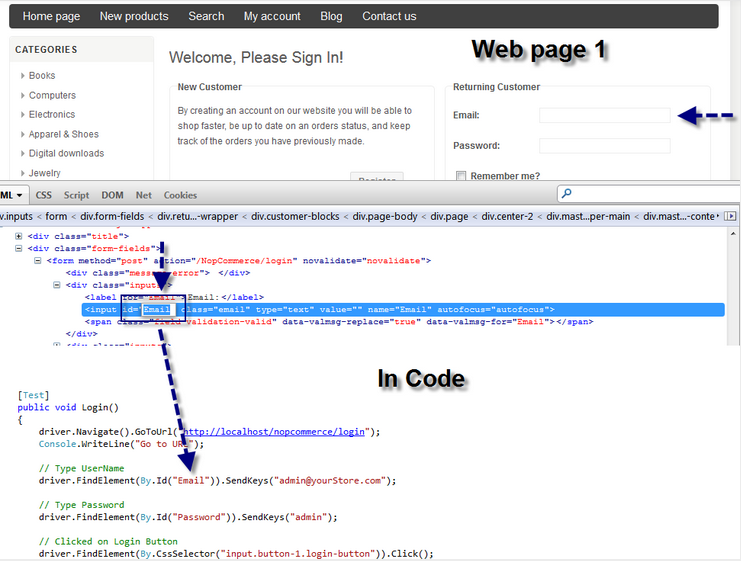
Above marked area. Just described how you will get id from login page
- Build your application or press (Ctrl + Shift + B)
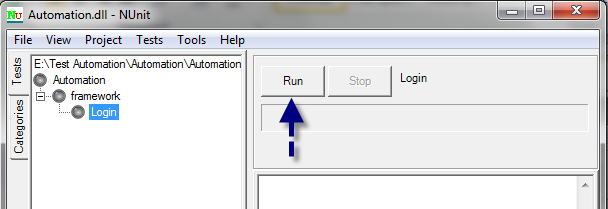
- You have to run Nunit window to run this code.
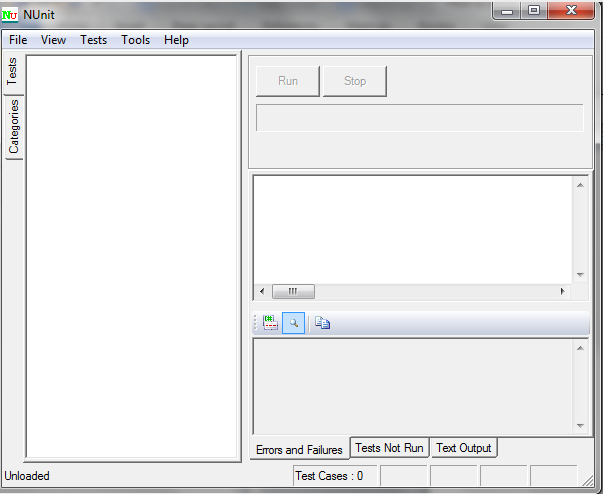
- Now, open a project from file menu and choose the project dll file or you can drag and drop the dll.
- Click on ‘Run’ button to define result pass / fail