If you forgot to enable FILESTREAM when install SQL Server 2008.
Don’t worry about it. You can enable FILESTREAM later.
To enable filestream settings:
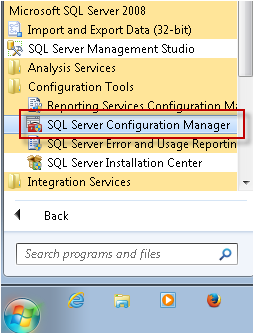
1. Go to Start menu > All Programs > Microsoft SQL Server 2008 > Configuration Tools > SQL Server Configuration Manager.
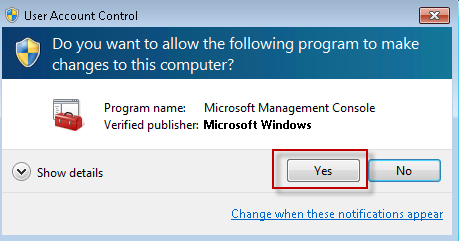
2. If asking for user account control then click yes
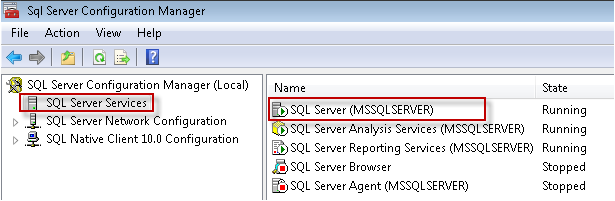
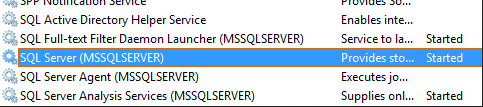
3. In the list of services, right-click SQL Server Services, and then click Open
4. Now go to Filestream tab and ticked ‘Enable FILESTREAM for Transact-SQL access’.
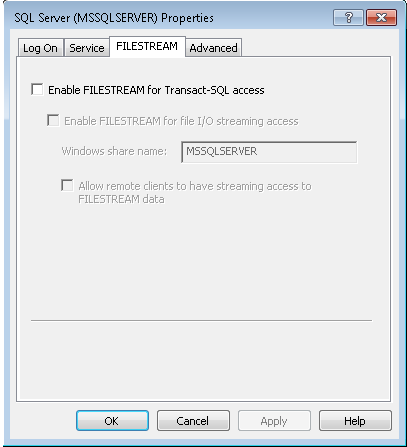
5. If you want to read and write FILESTREAM data from Windows, click Enable FILESTREAM for file I/O streaming access. Enter the name of the Windows share in the Windows Share Name box.
6. If remote clients must access the FILESTREAM data that is stored on this share, select Allow remote clients to have streaming access to FILESTREAM data
7. Click Apply
8. Go to SQL Server Management Studio, click New Query to display the Query Editor
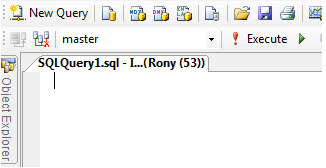
9. In Query Editor, enter the following Transact-SQL code:
EXEC sp_configure filestream_access_level, 2
RECONFIGURE
10. Click Execute or Press ‘F5’ button
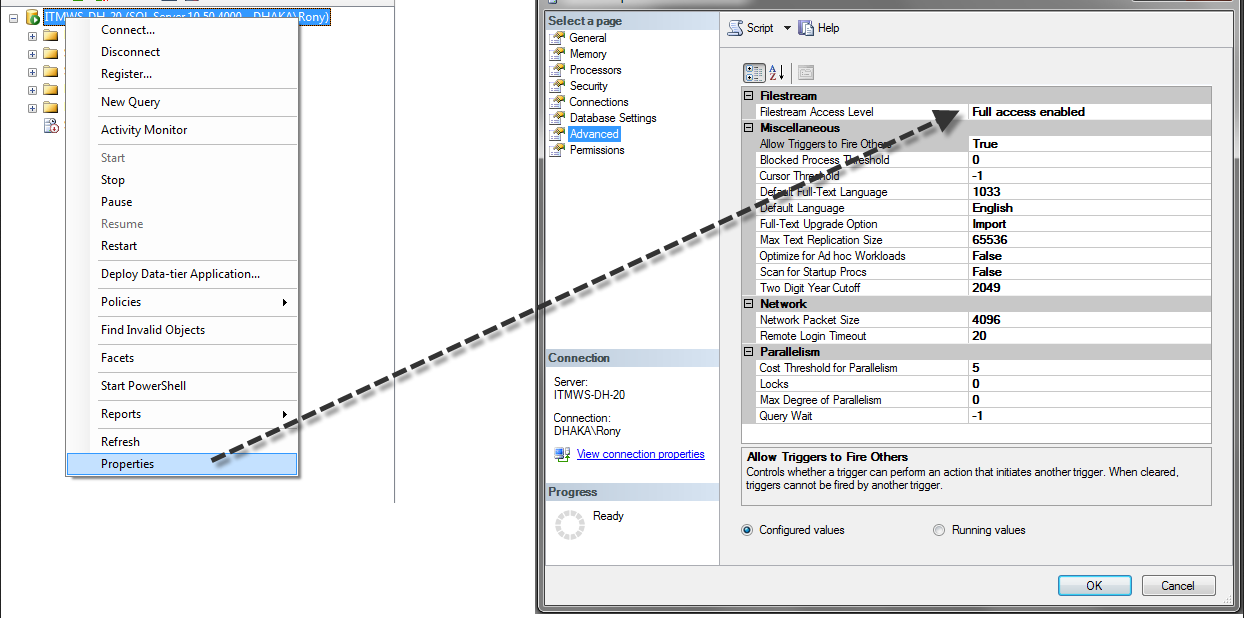
11. Make File-stream access level full
12. Restart the SQL Server service
Great help